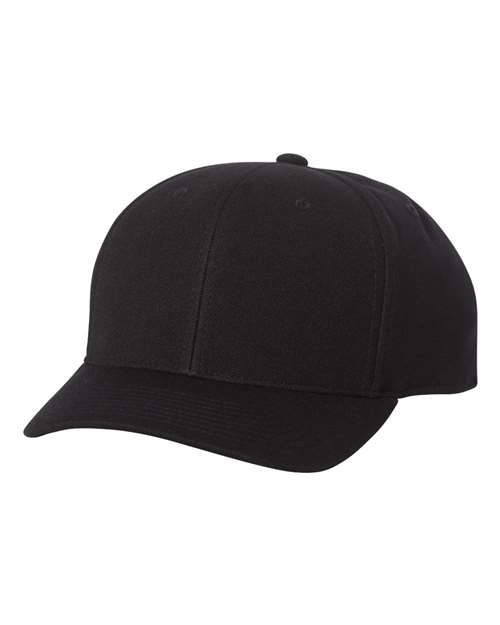
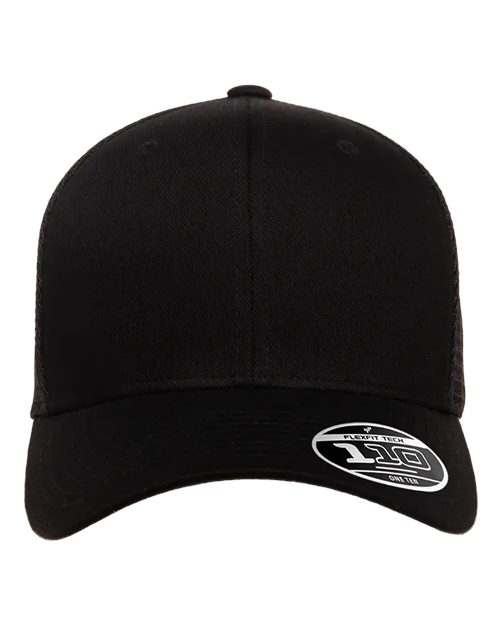
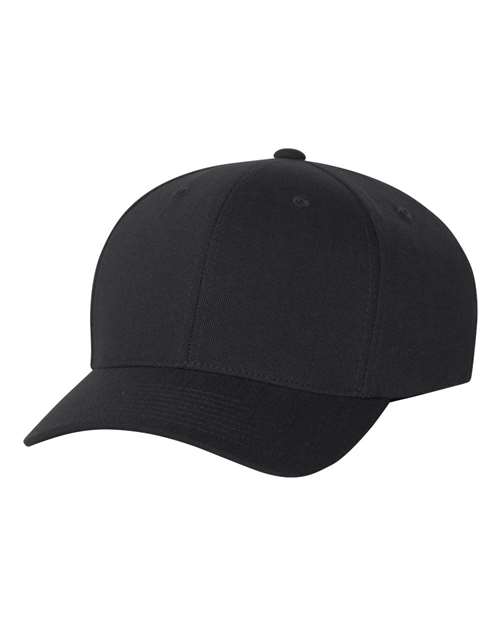
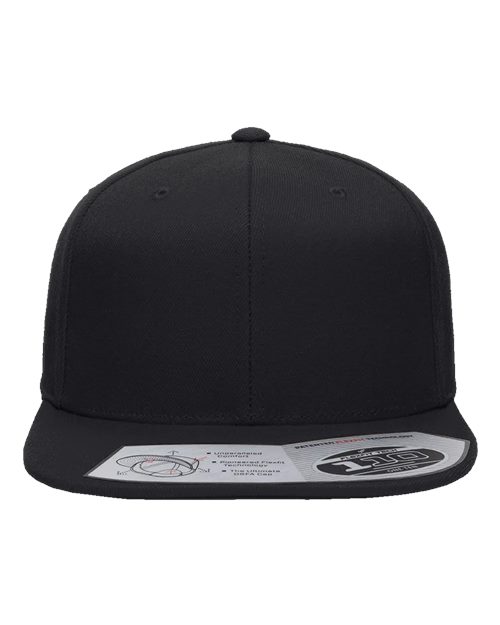
Featured collection
It’s easy to create your own custom products with DTF transfers!
STEP 1: Position
Position your DTF (Direct to Film) Transfer on top of your product
STEP 2: Press
Press with medium pressure for 15 seconds. We recommend 320°F / 160°C
STEP 3: Peel
Let transfer cool for at least 5-8 seconds and peel (warm).
100%
Customer Satisfaction Guaranteed
34,875
DTF Rolls Shipped Last Year
FAQ
Hopefully, you will find your answer here. If you still have any questions, please feel free to ask our customer support for instant replies.
Do you offer other services?
Yes, we offer a variety of services beyond our main offerings. If you're interested in learning more about additional services like embroidery, sublimation printing, or custom print and press for garments, feel free to contact us. We’ll be happy to provide more details!
Do I need to create an account to place an order?
You do not need to set up an account to place an order. However creating an account allows you to store your shipping information, see order history, and view your product’s warranty information. Additional features will be added to the account page in the near future.
How long will it take to get my orders?
It depends on where you are. Officially, our standard turnaround time is 2 to 4 business days. ( Weekend and holidays are not considered business days. Most orders are printed and shipped the next business day. Delivery details will be provided in your confirmation email.
Do you have a daily cutoff time?
Our cutoff time is at 2pm ET. That means any orders placed after 2pm will be treated as if they were placed the next business day.
What type of press is required for DTF transfers?
You can use anything, from a simple household iron to an industrial-level heat press, which you press with medium pressure at 320°F / 160°C for 15 seconds, let it cool for 5-8 seconds, then peel (warm peel). UV DTF does not require heat
Is it possible to apply DTF transfers with an iron?
Absolutely! Here are the steps:
1.Pre-iron the Garment: Begin by ironing the garment where the transfer will be applied. This step removes any moisture and wrinkles from the fabric, creating an ideal surface for the transfer.
2.Position the DTF Transfer: Carefully place the DTF transfer on the desired area of the garment. Ensure it is perfectly aligned and positioned as per your design requirements.
3.Use a Protective Layer: Place a Teflon sheet or parchment paper over the DTF transfer. This barrier is essential to protect both the transfer and the garment from direct heat.
4.Set Iron to High Temperature: Heat is a critical element in this process. Set your iron to its highest temperature setting. DTF transfers require substantial heat to adhere properly.
5.Apply Even Heat and Pressure: With your iron at the correct temperature, apply heat to the transfer, pressing down firmly and evenly. Move the iron slowly over the entire transfer area, ensuring every part of the transfer receives adequate heat.
6.Check and Warm peel: After ironing, let the transfer and garment cool down for 5-8 sec, then carefully peel off the protective layer warm. If any part of the transfer has not adhered completely, reapply heat.By following these expert steps, you can successfully apply DTF transfers with a household iron, achieving a durable and professional finish. Remember, precision in the application process is key to the longevity and appearance of your DTF transfer.
How durable are DTF transfers in the wash
Our transfers have been rigorously tested on a variety of garments to ensure durability and longevity.
What file formats are accepted for artwork?
Preferred file types are .AI and .PDF. We also accept .PNG files. Vector art is preferred, and raster art should be at least 300 dpi.
What is your refund policy?
At Prints in a jiffy, we stand behind our work. If you encounter any issues with your transfers, contact us and we'll resolve any problems with our printing.
*Please note: Issues with supplied artwork are not covered by refund / reprint policy. Please review your files before agreeing to our printing terms.
Can DTF transfers be used on different fabric types?
Yes, DTF transfers from DTF Masters can be applied to a wide range of materials, including 100% cotton, 50/50 blends, spandex, nylon, polyester, twill, canvas, denim, and more.
What can UV DTF Stickers be pressed on?
UV DTF (Direct to Film) printing involves applying UV curable ink directly onto a film substrate, which can then be transferred onto various surfaces using pressure (no heat needed). The film itself can adhere to a wide range of materials, making UV DTF versatile for different applications. Here are some common materials that UV DTF films can be stuck on: Hard Surfaces: Wood, metal, ceramic, glass, acrylic, and other rigid materials. Flexible Surfaces: Leather, PVC, and other flexible plastics. Paper Products: Posters, cards, and other paper-based products.
Can DTF transfers be used on both light and dark fabrics?
Yes, our DTF transfers are suitable for both light and dark fabrics, offering ease of use, cleanliness, brightness, durability, and flexibility.
How do DTF transfers compare to other printing methods?
DTF transfers are an excellent alternative to vinyl, screen printing, and sublimation, offering better detail color quality with no minimums.
What is the process for ordering DTF transfers?
Simply upload your designs, and we will turn them into high-quality DTF transfers. We print your transfers and ship them within 48-72 hours.
How do you apply UV DTF stickers?
Application Instructions for UV DTF
- Prep Your Surface and Pre-Squeegee Your UV-DTF sticker. ...
- Separating The Clear Carrier Sheet From The White Backing. ...
- Placing Your UV-DTF Sticker Onto Your Item. ...
- Completing the Transfer Process.
Any question?
You can contact us through our contact page! We will be happy to assist you.